Onartline Multisite Domain Mapping is available in several languages. On this page, we’ll show you how to install language packs for Onartline Multisite Domain Mapping – the steps are the same for every language, only the downloaded file differs. Further down, you’ll find the list of all currently available language packs for download.
Setting Up Language Packs for Onartline Multisite Domain Mapping (OMDM)
Installation Explained Quickly
If the technical details are too much for you, the following should be enough:
- Download the ZIP file via [link to download page] and unzip it
- Upload the included language files via your hosting provider’s file manager to the folder
wp-content/languages/plugins/or - Connect to your server via FTP (e.g. with FileZilla) and upload exactly these 3 files to the following directory:
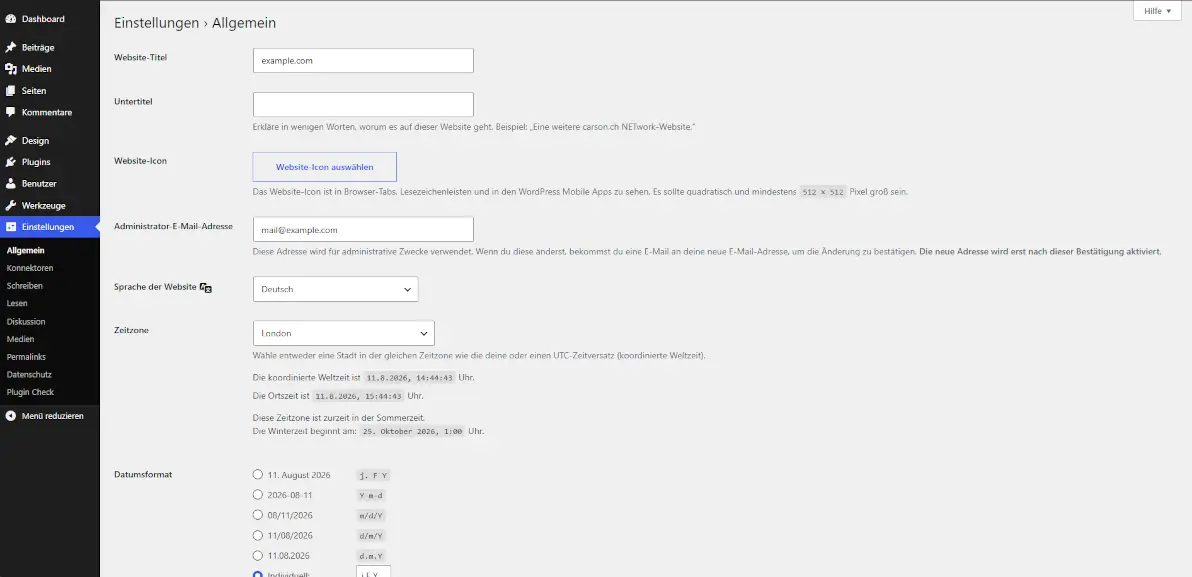
/wp-content/languages/plugins/ - Under Settings → General, make sure the desired language is selected as the website language.
That’s it. If you’re unsure about anything, you’ll find a detailed explanation further down, as well as the install-readme.txt in the ZIP file with additional notes.
Detailed Instructions
What you need
- Access to your server (via FTP or through your hosting provider’s file manager)
- The downloaded ZIP file containing the language files
Step 1: Download the language pack
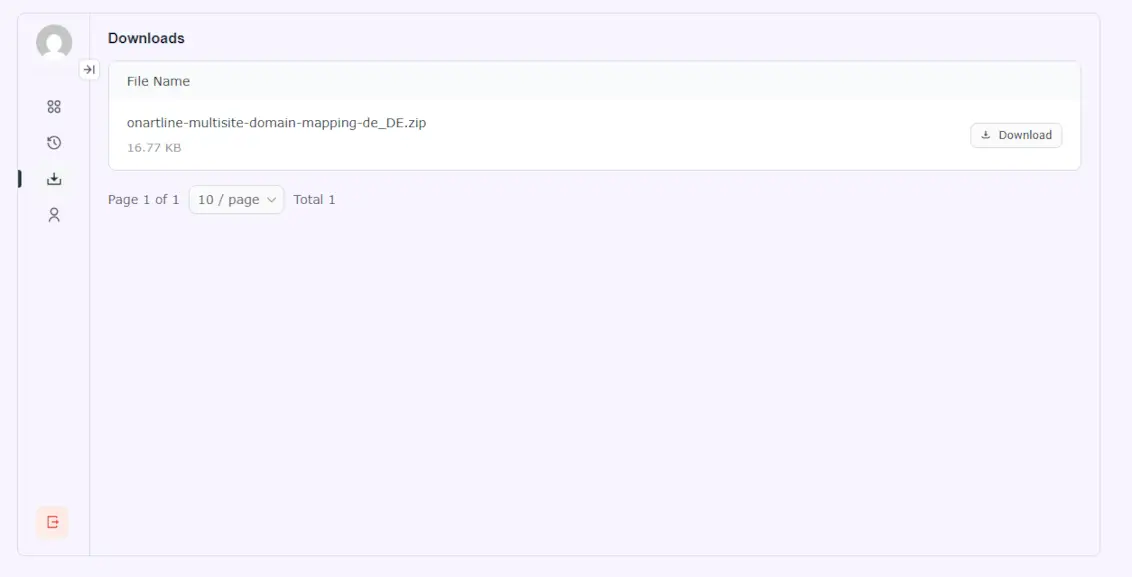
Download the ZIP file for your desired language via my.onartline.com. The file contains the language files as well as an install-readme.txt with additional notes.
In the My Account area, you can then download the file under Downloads.
Step 2: Unzip the file
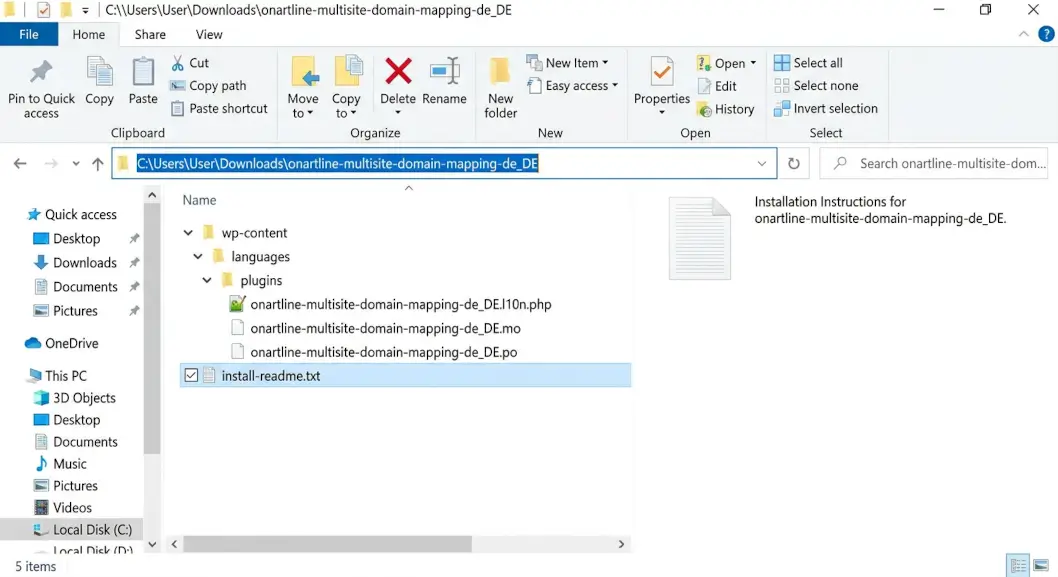
Unzip the downloaded ZIP file on your computer. This will give you the folder onartline-multisite-domain-mapping-de_DE. Inside, you’ll find the install-readme.txt directly, as well as the folder structure wp-content/languages/plugins/ containing the three required language files (.po, .mo and .l10n.php). This structure already shows you where the files will need to be placed on your server later.
Step 3: Locate the target folder on your server
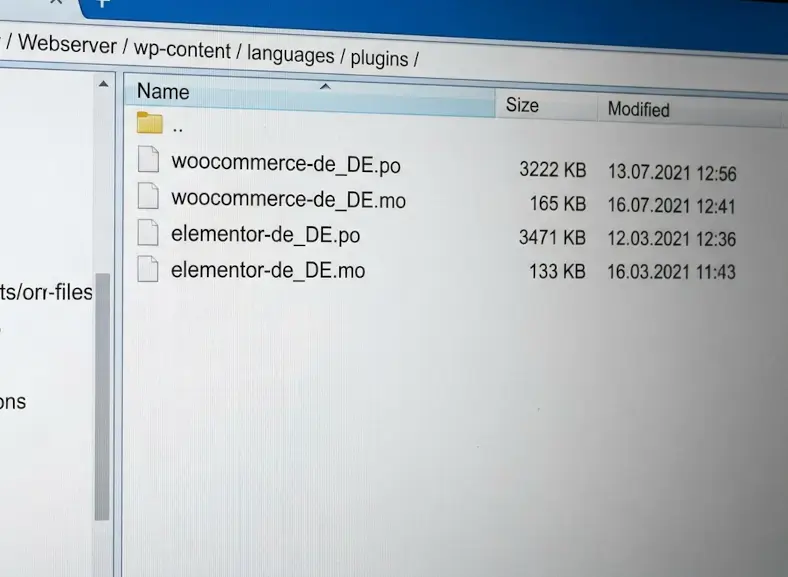
Connect via FTP or your hosting provider’s file manager and navigate to the following folder:
wp-content/languages/plugins/
The identically named folder structure in the unzipped ZIP file will serve as your guide here.
Step 4: Upload the language files
Upload all three language files (.po, .mo and .l10n.php) from the subfolder wp-content/languages/plugins/ of the unzipped file to the corresponding folder on your server.
Step 5: Activate the language
Go to your WordPress backend under Settings → General and make sure the language you just installed is selected under “Site Language”. In most cases, this will already be the case.
Step 6: Check the installation
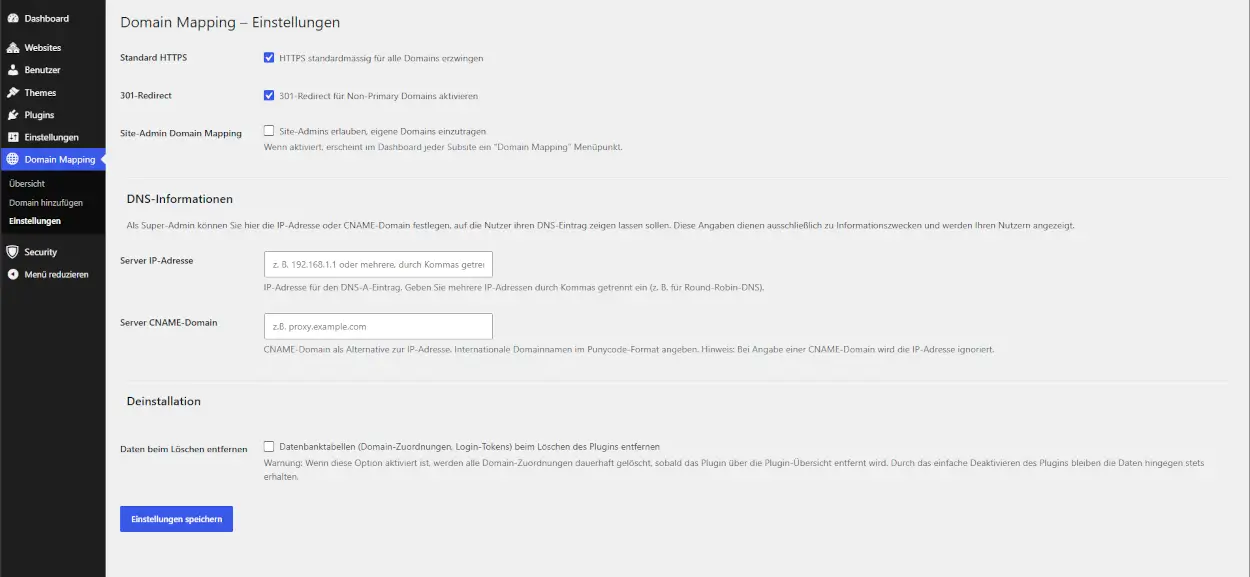
Open the plugin in the backend and check whether the menus and texts are now displayed in the language you installed.
Note
If you’re unsure exactly where the files need to be uploaded, you’ll find an additional, detailed description in the enclosed install-readme.txt.
Frequently Asked Questions about Installing Language Packs
Answer: Check whether the correct language is actually selected under Settings → General → Site Language. Also remember to check the language settings in your user profile.
Answer: Yes, that’s no problem at all – WordPress automatically loads the translation that matches the currently active site language.
Support
If you encounter any problems during upload or activation, you can create a ticket via our support portal at any time.